I have most of the presents done for Christmas... I still have a few people left, but it's looking more and more like I can actually finish. I was looking for a Nook Color tute, but couldn't find one I really liked and had all the features I was looking for. I combined a bunch and came up with this!
 |
| Nook Color Cover Tutorial! |
You will need:
- 1/3 yd of fabric
- scrap felt
- scrap batting or felt... something for the batting
- sewing machine
- thread
- snaps for the strap closer
- hand needle
1) I started out by ironing all my fabric so that it was nice and flat.
2) Next I cut up the pieces. You will need:
- 2 pieces cut 12" X 9"
- 2 pieces cut 9" X 6"
- 1 piece of batting cut 12" X 9"
- 4 squares cut 3" X 3"
- 2 pieces cut 2" X 4 1/4"
- 1 piece of felt/batting 2" X 4 1/4"

3) Now we get down to business! Fold and iron your 3" squares in half. Top stitch over the folded part like so.

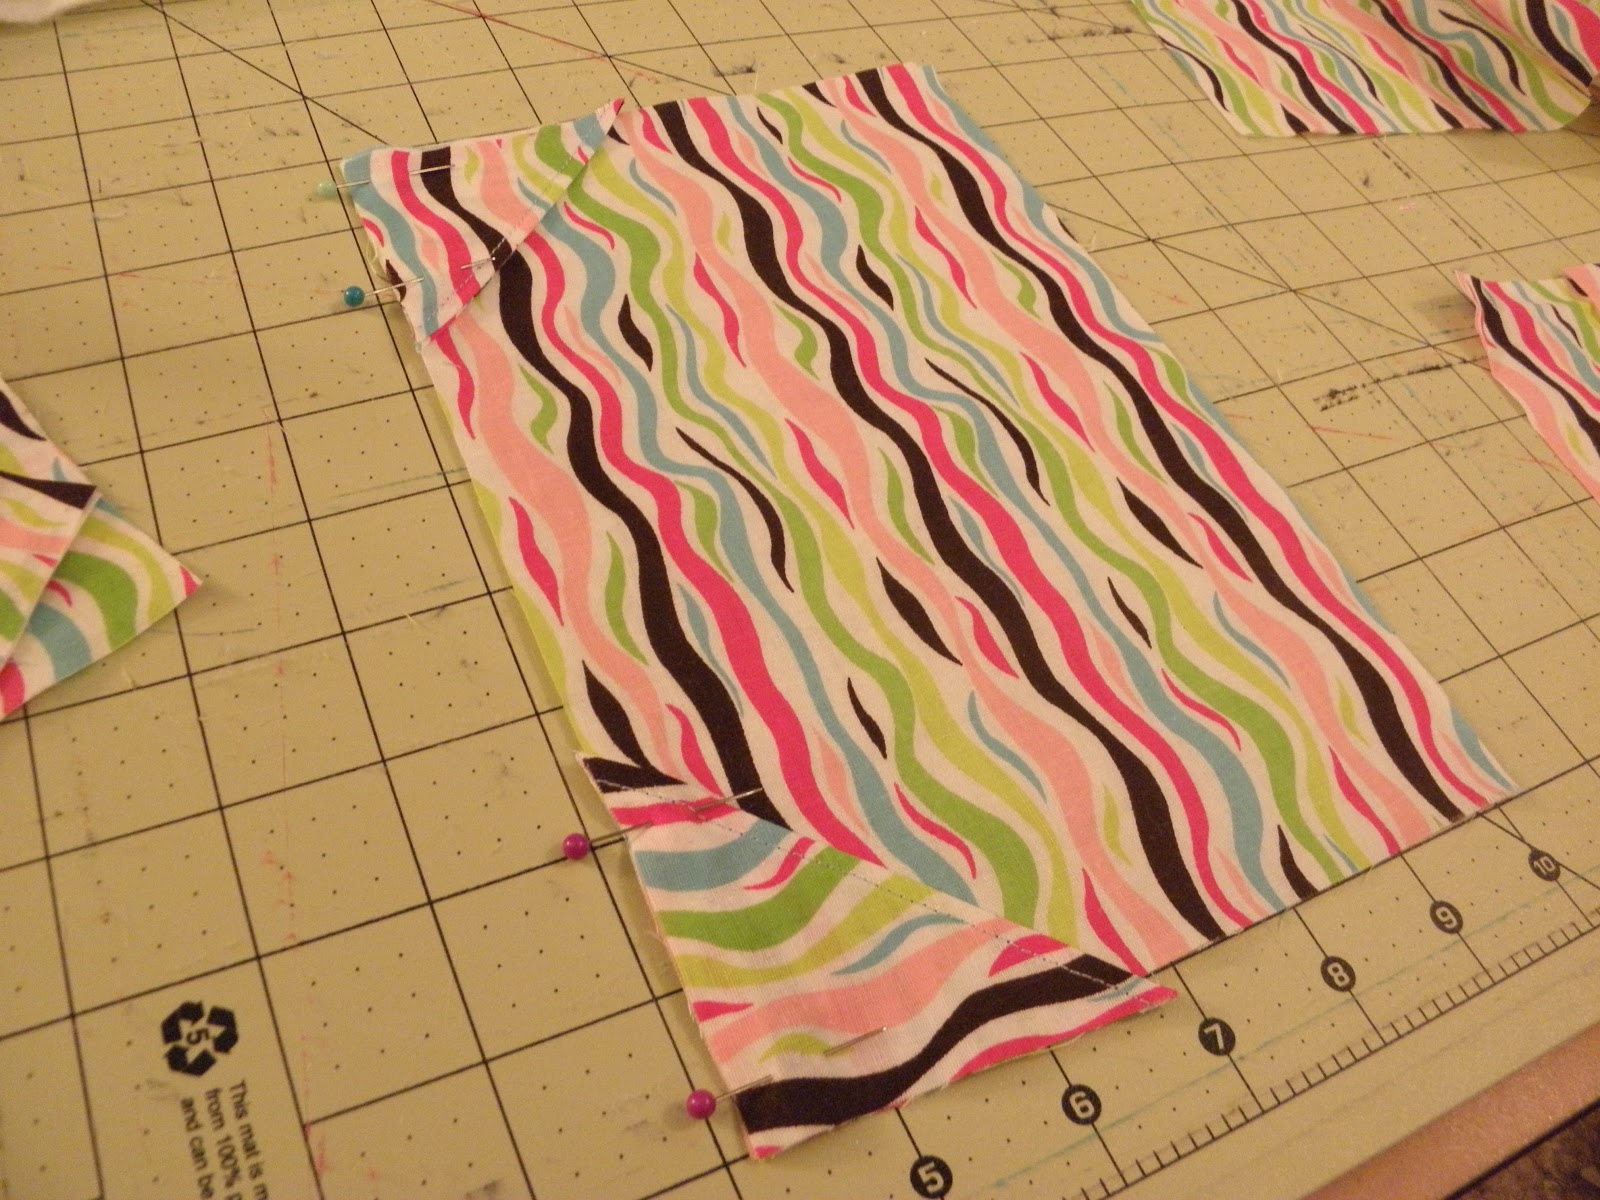
4) Take one of the 9" X 6" pieces - the one you want to have the corners on and hold the Nook. Put two of the corners on the left side. Pin them in place. Then place the other 9" X 6" piece over the top of that front sides facing, and pin that. All the corners should match up nicely. Sew with a 1/2" seam allowance down the side you pinned. See pictures, as I am terrible at explaining!

 5) Now you want to turn it the right way, and iron the seam A LOT! Get it as flat and nice as you can. Place the piece you just made on top of one of the 12" X 9", on the right side. Use the one you want to be in the inside of your cover. Pin. Then place the other 12" X 9" piece on top of the bunch of pieces you already have, face down. Pin. Then place your batting on top of that. Pin again. Now you are going to sew all that fabric together!
6) I start sewing on the right side right above the bottom corner piece. The hole on that side is the pocket where the closure part is placed. Backstitch a lot because you have to turn everything in that hole. Then sew around the cover until you get to the bottom of the other corner piece. You should be left with a hole to turn about 2 inches. I trimmed the excess off before I turned. Then turn everything to the right side. Make sure your pocket has the corners and it isn't turned inside out. If it is, just fix it by turning it to the right side. Then iron. Iron like you have never ironed before! Make everything nice and flat!
 7) Now we will make the strap for the closer. Take the 2" X 4 1/4" piece and the piece of scrap felt and place them like so. Sew around three sides. Then turn. Iron again. Next you will want to attach your snaps, or velcro, or whatever you decide to use. I used snaps. After you have attached your type of closure, place the strap, unfinished side in the hole on the right side of the cover. Pin it in place then hand sew with a ladder stitch the hole close.
 I iron everything again for good measure :) Then you have your finished product ready to gift or use!


It even has this great little pocket for
random stuff! I have a few pieces of paper and
a small pencil to write down notes etc. in here!
It's awesome isn't it?! Thanks to all the other tutorials I looked at for inspiration! I'm sure you would be able to make this for Kindles, iPads, tablets... anything! Next tutorial coming soon! I'm not sure on what though... Maybe some clothes for K? A crochet hat? Check back soon!
No comments:
Post a Comment